
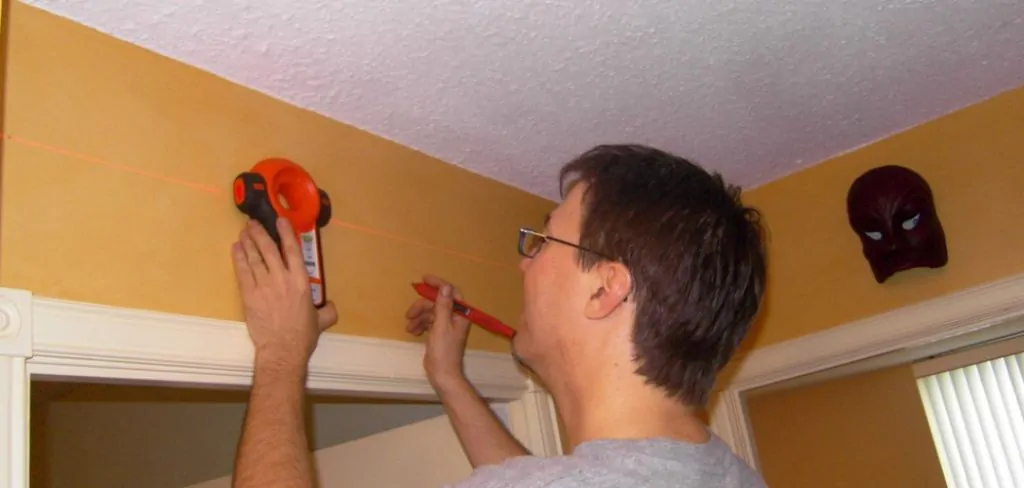
Using a laser level to hang pictures is a great way to ensure that your walls are decorated precisely and accurately. A laser level allows you to easily calculate exact measurements and alignments, taking the guesswork out of hanging pictures or other objects on the wall. With a laser level, you can ensure that all of your pictures are hung perfectly straight, with the same distance between each one.
Using a laser level to hang pictures has several advantages, including accuracy and convenience. With the use of a laser pointer, you can accurately align walls and take accurate measurements without having to measure with a tape or ruler. This saves time and makes hanging pictures evenly on the wall easier. In this blog post, You will learn in detail how to use a laser level to hang pictures.
Step by Step Processes for How to Use a Laser Level to Hang Pictures
Step 1: Inspect the Surface
Before using the laser level to hang pictures, check the surface where you’ll be sticking decorations. If it’s a wall, make sure there aren’t any bumps or imperfections that could throw off your measurements and make for an uneven hanging display.
Step 2: Select your Laser Level
When selecting a laser level, looking for one that can accommodate the type of work you plan on doing is important. A basic laser level will suffice if you’re simply hanging pictures in your home. You’ll want to place your laser level so that the beam points straight ahead and is not pointing up or down. Make sure the beam is clear of any obstacles and that you can easily see it when looking through the viewfinder.
Step 3: Turn on the Laser Level
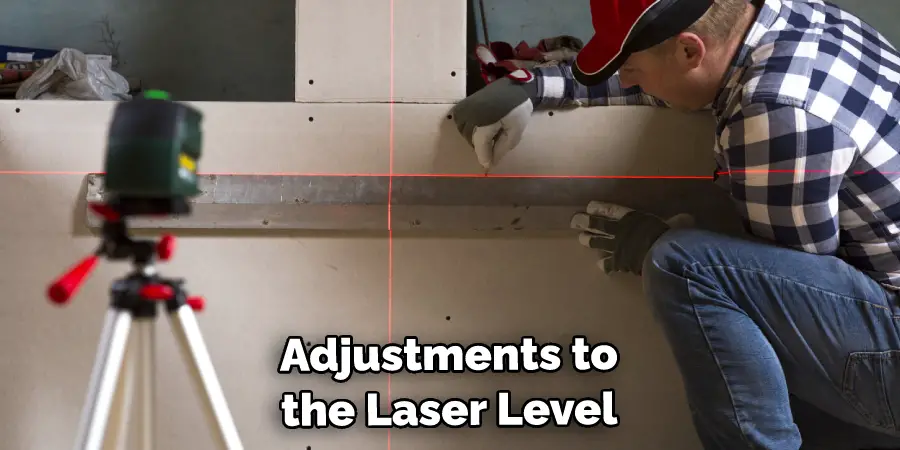
After you have placed your laser level, turn it on. You should be able to see a bright red light emitting from the device. This will serve as a reference point for your hanging job. If you need to make slight adjustments to the laser level, use the adjustable legs to raise or lower it until the beam is parallel with the surface of the wall.
Step 4: Mark Reference Points
Using a pencil and ruler, mark two points on either side of the wall that are evenly spaced. This will help you ensure the pictures you hang are correctly aligned. Using your viewfinder, locate where the laser beam is pointing on both reference points and make a cross mark with your pencil for each.
Step 5: Screw in Hangers at Reference Points
With your reference points marked, screw in hangers at each of the points. Make sure to double-check that they are level with one another before moving on to the next step. Once you have secured the hangers, it’s time to hang your pictures. You should use a helper or have someone else hold the picture while you measure and ensure it is straight.
Step 6: Double Check Your Work
Before you step away from your work, double-check that everything is even and properly aligned. If any adjustments need to be made, go back and adjust them with your laser level before calling it a day.
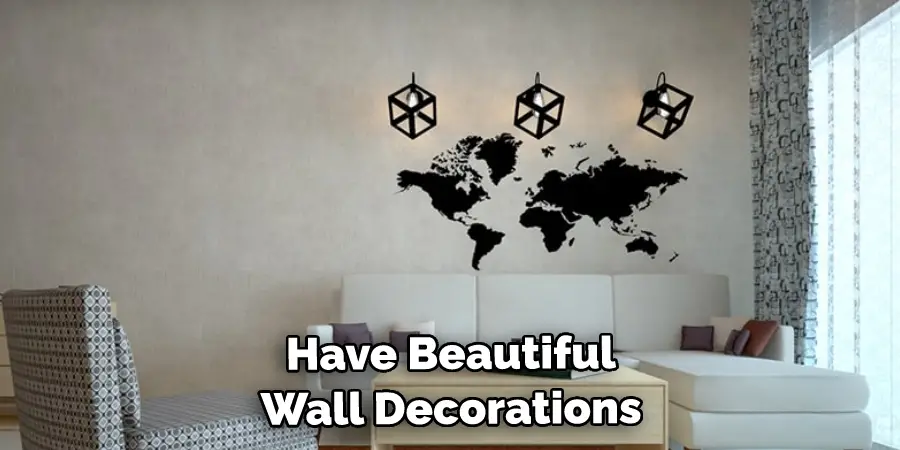
With these steps, you’ll be sure to get the job done right and have beautiful wall decorations in no time. By using a laser level, you can guarantee that your pictures are hung evenly and securely.
Safety Tips for How to Use a Laser Level to Hang Pictures
- Always wear safety glasses when working with a laser level, as the reflected beam can cause damage to your eyes.
- Never point the laser at anyone, and always ensure that it is pointed away from any passers-by or other people in the area.
- Make sure the laser has been securely mounted on a tripod or other stable surface before you begin working.
- Ensure the laser is only used in dry conditions and away from any sources of moisture or water.
- Make sure that the beam is not reflected off surfaces, as this could cause distraction or harm to others around you.
- Be aware of the power of the laser, and take extra precautions when using higher-powered lasers.
- Disconnect the power source after use to prevent any accidents or injury.
By following these safety tips you can ensure that your project will be successful and completed safely with minimal risk of damage or harm coming to yourself or anyone else in the vicinity.
How Do You Clean and Maintain the Laser Level?
It is important to clean and maintain your laser level to keep it in top working condition. While the laser levels are generally very durable, regular maintenance will help prevent common issues that occur with age or due to dirt and debris buildup.
To clean a laser level, only use a soft cloth dampened slightly with distilled water. Do not use any cleaning solutions, as these can damage the laser level. You can also use a soft brush or compressed air to remove dust and debris.
When working with your laser level, it is important to keep it in its case when not in use and away from direct sunlight or extreme temperatures. You should also check the batteries regularly to ensure they are still working and replace them when necessary.
You should also check the laser level before each use to make sure it is properly calibrated and free of any dirt or debris that might interfere with its performance. If you notice any issues, immediately stop using your laser level and consult a professional for help.
Are There Any Common Mistakes People Make When Using a Laser Level to Hang Pictures?
Yes, people make several common mistakes when using a laser level to hang pictures. For instance, some people forget to turn their laser level off after use. This can result in the battery running down quickly and possibly damaging the laser level itself.

Additionally, if you don’t adjust the beam correctly it may be too faint or too strong, leading to inaccurate measurements and misaligned pictures. Lastly, it’s important to ensure that the laser level is correctly aligned with the wall before taking measurements. If the level isn’t properly adjusted, it can cause inaccuracies when trying to hang the picture in a straight line.
What Common Problems Can You Encounter When Using a Laser Level, and How Do You Fix Them?
Using a laser level to hang pictures can be a great way to ensure your artwork is level and aligned with the rest of the room. However, you may encounter some common problems when using this tool. Here are three possible issues that could arise and how to address them:
- The Laser Dot is Too Dim or Faint to Be Seen: This is usually caused by using a low-grade laser level that lacks the power to make the dot visible. You can fix this problem by upgrading to a higher-quality laser with more powerful beam strength.
- The Dot is Not Aligned Correctly on the Wall: If your laser level does not have an adjustable head, then the dot may not be pointing in the right direction. In this case, you can use a spirit level on top of the laser level to make sure it is level with the ground.
- The Laser Beam Does Not Reach Across the Wall: If your room has very high ceilings, you might need to upgrade to a laser level with a longer beam. This will ensure that the dot is visible from one end of the wall to the other.
Using a laser level to hang pictures can save you time and hassle when attempting to get everything lined up correctly. However, it’s important to be aware of the potential issues so you can address them if and when they arise.
What Are Some of the Most Important Things to Consider When Using a Laser Level?
When using a laser level to hang pictures, several important factors must be considered. First, you should always make sure that your laser level is correctly calibrated before use.
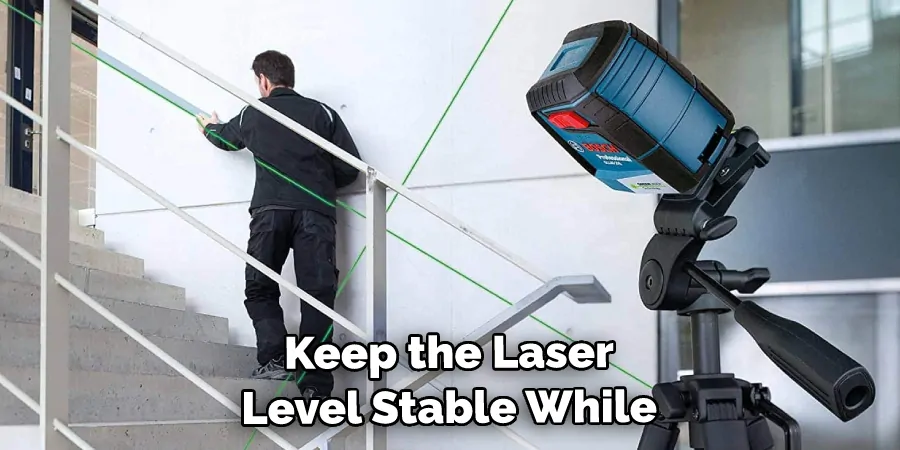
This will ensure accuracy and reduce the chances of costly mistakes. Second, you may need to purchase a stand or tripod in order to keep the laser level stable while it is in use. Third, you should always wear safety glasses when using a laser level to protect your eyes from any potential harm.
Finally, you should make sure that the surface you are working on is secure and not likely to move while hanging your pictures. With these tips in mind, you can rest assured that your picture-hanging project will be easy.
Conclusion
In conclusion, using a laser level to hang pictures is an easy and efficient way to make sure your artwork hangs perfectly straight. It takes the guesswork out of measuring distances, ensuring the lines are level, and provides a simple workflow for getting accurate results quickly.
Laser levels can save you time and effort, whether you’re hanging one picture or multiple frames side-by-side. So, the next time you’re decorating your walls, don’t forget to use a laser level! It will make the job easier, faster, and far more precise. I hope this article has been beneficial for learning how to use a laser level to hang pictures. Make Sure the precautionary measures are followed chronologically.
You Can Check It Out Cut Square With a Circular Saw
Occupation: Expert in Hardware Tools
Education: Bachelor’s Degree in Mechanical Engineering
Profile:
Enrique Howard is a seasoned expert in the field of hardware tools, with a robust background in mechanical engineering that underpins his extensive knowledge and skills. Holding a degree in mechanical engineering, Enrique has cultivated a deep understanding of tool design, mechanics, and the intricacies of various hardware applications. His educational foundation empowers him to innovate and refine tools that enhance efficiency and effectiveness in a wide range of industries.
Professional Focus:
Enrique’s professional focus encompasses a diverse array of areas within the hardware tools sector, including:
- Tool Design and Development: Leveraging his engineering expertise, Enrique specializes in designing tools that meet specific user needs, ensuring optimal performance and durability.
- Material Science: Understanding the properties of various materials allows him to recommend the best tools for specific applications, enhancing safety and efficiency.
- Ergonomics: He emphasizes the importance of ergonomic design in tools, striving to create solutions that reduce user fatigue and improve comfort during prolonged use.
- Sustainability: Enrique is committed to promoting environmentally friendly practices in tool manufacturing, advocating for the use of sustainable materials and processes.
- Education and Training: Through workshops, seminars, and written content, he focuses on educating both professionals and DIY enthusiasts about tool selection, maintenance, and safe usage practices.
Throughout his career, Enrique has worked on numerous projects, collaborating with manufacturers and craftsmen to develop cutting-edge hardware solutions. His expertise spans from traditional hand tools to advanced power tools, allowing him to contribute significantly to both professional and DIY communities.
As an author, Enrique shares his insights through articles, guides, and tutorials, aimed at helping enthusiasts and professionals alike navigate the complexities of hardware tools. His passion for education and practical application drives him to continually explore new technologies and methodologies, making him a trusted voice in the hardware industry.
Whether he’s writing about the latest tool advancements or providing practical tips for tool maintenance, Enrique Howard is dedicated to empowering others with the knowledge and skills necessary to excel in their hardware endeavors.