
Are you having issues with your vehicle’s electrical system? When diagnosing and repairing electrical problems, the ballast resistor is often a common culprit. In this guide, we will cover everything you need to know about how to test ballast resistor.
Testing a ballast resistor is crucial in diagnosing issues within a vehicle’s electrical system, particularly in older models with ignition systems reliant on these components. A ballast resistor limits the current flowing to the ignition coil, ensuring that the coil operates efficiently and the engine runs smoothly. Over time, ballast resistors can wear or fail, leading to problems such as hard starting, engine misfiring, or complete ignition failure.
This guide will outline the steps necessary to test a ballast resistor, providing you with the knowledge to ensure your vehicle’s electrical system is functioning optimally.
What Will You Need?
Before we dive into the testing process, here are some tools and materials you will need:
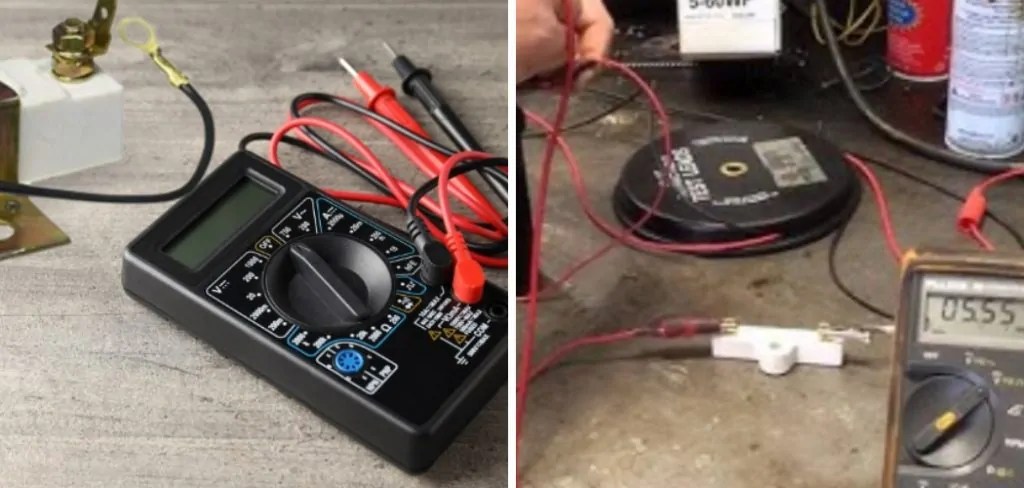
- Multimeter: This tool is essential for measuring electrical resistance, voltage, and current. It is used to test the ballast resistor’s resistance.
- Wires With Alligator Clips: These will be needed to connect the multimeter to the ballast resistor.
- Protective Gear: Since this task involves working with electricity, it is important to wear protective gear such as gloves and safety glasses.
Now that you have gathered all the necessary tools and materials let’s move on to the testing process.
10 Easy Steps on How to Test Ballast Resistor
Step 1: Safety First
Before beginning any work on your vehicle’s electrical system, ensure that the ignition is turned off and the keys are removed. This will help prevent accidental shocks or short circuits while testing the ballast resistor. Always wear your protective gear, including gloves and safety glasses, to ensure your safety during the process.

Step 2: Locate the Ballast Resistor
To effectively test the ballast resistor, the first step is to locate it within your vehicle. The ballast resistor is typically situated near the ignition coil, often mounted on the firewall or the fender. In most vehicles, it appears as a cylindrical component with two or more terminals where the electrical connections are made. If you need help finding it, consult your vehicle’s service manual, which can provide specific diagrams and locations based on your make and model.
Once located, ensure that the area is clear of any debris or obstacles to facilitate a smooth testing process. Remember, familiarity with the layout of your vehicle’s engine bay is essential, as it will help you easily identify other components related to your ignition system.
Step 3: Disconnect the Ballast Resistor
Once you have located the ballast resistor, disconnect it from the electrical circuit. Carefully remove the wires connected to the terminals of the ballast resistor, ensuring no to damage the connections or surrounding components. Labeling the wires or taking a picture for reference is a good practice, as this will help you remember where each wire connects when it’s time to reassemble everything. After the cables are detached, you can proceed to the next step, which involves testing the resistor for continuity.
Step 4: Set Up the Multimeter
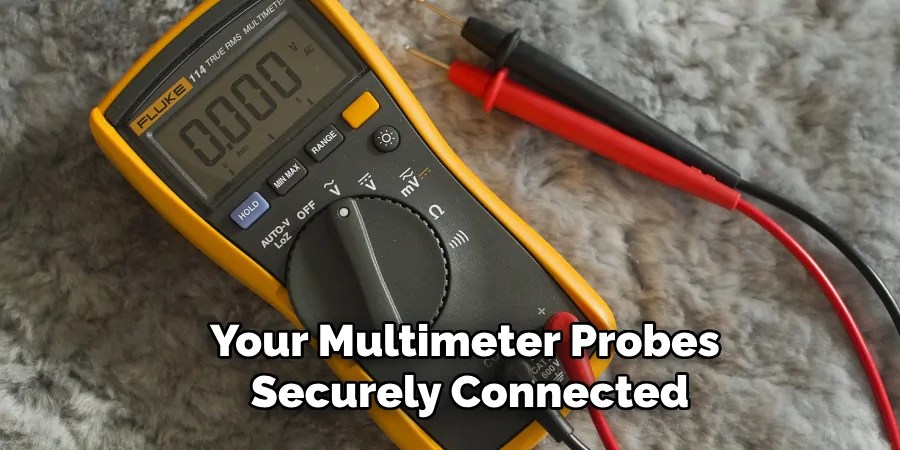
Now that the ballast resistor is disconnected, it’s time to set up your multimeter to test its resistance. Start by turning the multimeter dial to the resistance (Ω) setting. If your multimeter has multiple ranges, select a range suitable for measuring low resistance values, typically between 0-200 ohms. Once it’s set, take the multimeter probes and connect the red probe to one terminal of the ballast resistor and the black probe to the other terminal. Make sure you have a firm connection to ensure an accurate reading.
Step 5: Read the Resistance Value
With your multimeter probes securely connected to the ballast resistor terminals, observe the digital display or gauge on the multimeter to read the resistance value. A properly functioning ballast resistor typically has a resistance reading within the manufacturer’s specified range, often around 1 to 2 ohms for most vehicles. If the reading shows significantly lower or infinite resistance, this indicates that the ballast resistor is either shorted or open, respectively, and may need to be replaced. Take note of the reading for future reference as you proceed with the diagnostic process.
Step 6: Test for Continuity
In addition to measuring resistance, testing for continuity is essential to ensure the ballast resistor is functioning correctly. With the multimeter still set to the resistance setting, you will want to check continuity by connecting the multimeter probes to the same terminals you used previously. If the ballast resistor is functioning correctly, the multimeter should indicate a reading of zero or very low resistance, confirming that electrical current can flow through it without any interruptions.
If there is no continuity or a significantly high resistance reading, it suggests that the ballast resistor has failed and should be replaced to restore proper ignition system functionality.
Step 7: Inspect for Physical Damage
After testing for continuity, it’s important to visually inspect the ballast resistor for any physical signs of damage. Look for cracks, burnt spots, or loose connections on the terminals, which may indicate wear or failure. Additionally, check the surrounding wiring for any signs of fraying or corrosion. If you observe any significant damage, it’s advisable to replace the ballast resistor as it may compromise the overall functionality of the ignition system. A thorough visual inspection can help prevent future issues and ensure all components are in good working order before reinstallation.
Step 8: Reconnect the Ballast Resistor
After ensuring that the ballast resistor is intact and functioning correctly, it’s time to reconnect it to the electrical circuit. Carefully align the wires with their respective terminals and securely attach them, connecting each wire to its original position. If you had labeled the wires or taken a reference picture, this would significantly assist in ensuring correct reconnection. Double-check that all connections are tight and that there are no exposed wires that could pose a safety hazard.
Step 9: Test the Ignition System
With the ballast resistor reconnected, testing the ignition system is crucial to ensure everything is functioning correctly. Start by turning on the ignition without starting the engine. Observe any warning lights on the dashboard that may indicate a malfunction. Next, attempt to start the engine. If it starts smoothly and runs efficiently, the ballast resistor and ignition system are working as they should. Further diagnosis may be needed if you encounter problems such as difficulty starting the engine or rough idling.
Step 10: Final Inspection and Clean-Up
Once everything is functioning correctly, perform a final inspection around the area where you worked. Ensure all tools are accounted for, and remove any debris or materials that may have accumulated during the process. It is also a good practice to check the connections one last time for security. After confirming that everything is properly in place, close your vehicle’s hood and take a moment to appreciate the work you have accomplished in testing and maintaining your vehicle’s ignition system. Regular maintenance can lead to improved performance and reliability in the long run.

By following these steps, you can effectively diagnose and test your vehicle’s ballast resistor, ensuring that it is functioning correctly and contributing to the smooth operation of your ignition system.
5 Things You Should Avoid
- Using Incorrect Multimeter Settings: Ensure you use the correct resistance setting when measuring the ballast resistor. Using the right setting can lead to accurate readings, misdiagnosis, and potential damage to your multimeter.
- Ignoring Manufacturer Specifications: Failing to consult the vehicle’s service manual for the specified resistance range can lead you to misinterpret average resistance values, resulting in unnecessary part replacements.
- Not Double-Checking Connections: After testing, verify that all connections are secure before testing the ignition system. Loose or poorly connected wires can cause intermittent issues that are difficult to diagnose.
- Overlooking Symptoms of Other Issues: While the ballast resistor is critical to the ignition system, be mindful of other components that may affect performance. Avoid jumping to conclusions solely based on the ballast resistor test results; instead, consider a holistic approach to diagnosing potential issues.
- Don’t Skip Maintenance: Regularly testing and maintaining your vehicle’s ballast resistor can help prevent unexpected failures and costly repairs. Neglecting this vital maintenance task can lead to more significant issues down the road, affecting both performance and safety.
By avoiding these common mistakes, you can ensure a smooth and accurate testing process for your vehicle’s ballast resistor, leading to improved performance and reliability in the long run.

Conclusion
In conclusion, how to test ballast resistor is an essential step in diagnosing and maintaining your vehicle’s ignition system.
By following the outlined steps—checking continuity, inspecting for physical damage, securely reconnecting the component, and performing thorough tests—you can ensure that the ballast resistor is functioning optimally. Additionally, being mindful of common pitfalls, such as incorrect multimeter settings and neglecting manufacturer’s specifications, will help prevent misdiagnosis and unnecessary component replacements. Regular maintenance enhances vehicle performance and contributes to overall safety on the road.
By remaining vigilant and proactive about your vehicle’s components, you can ensure a more reliable driving experience and potentially costly repairs down the line.
Occupation: Expert in Hardware Tools
Education: Bachelor’s Degree in Mechanical Engineering
Profile:
Enrique Howard is a seasoned expert in the field of hardware tools, with a robust background in mechanical engineering that underpins his extensive knowledge and skills. Holding a degree in mechanical engineering, Enrique has cultivated a deep understanding of tool design, mechanics, and the intricacies of various hardware applications. His educational foundation empowers him to innovate and refine tools that enhance efficiency and effectiveness in a wide range of industries.
Professional Focus:
Enrique’s professional focus encompasses a diverse array of areas within the hardware tools sector, including:
- Tool Design and Development: Leveraging his engineering expertise, Enrique specializes in designing tools that meet specific user needs, ensuring optimal performance and durability.
- Material Science: Understanding the properties of various materials allows him to recommend the best tools for specific applications, enhancing safety and efficiency.
- Ergonomics: He emphasizes the importance of ergonomic design in tools, striving to create solutions that reduce user fatigue and improve comfort during prolonged use.
- Sustainability: Enrique is committed to promoting environmentally friendly practices in tool manufacturing, advocating for the use of sustainable materials and processes.
- Education and Training: Through workshops, seminars, and written content, he focuses on educating both professionals and DIY enthusiasts about tool selection, maintenance, and safe usage practices.
Throughout his career, Enrique has worked on numerous projects, collaborating with manufacturers and craftsmen to develop cutting-edge hardware solutions. His expertise spans from traditional hand tools to advanced power tools, allowing him to contribute significantly to both professional and DIY communities.
As an author, Enrique shares his insights through articles, guides, and tutorials, aimed at helping enthusiasts and professionals alike navigate the complexities of hardware tools. His passion for education and practical application drives him to continually explore new technologies and methodologies, making him a trusted voice in the hardware industry.
Whether he’s writing about the latest tool advancements or providing practical tips for tool maintenance, Enrique Howard is dedicated to empowering others with the knowledge and skills necessary to excel in their hardware endeavors.