
Your pool enclosure is an essential part of your swimming pool area. It provides privacy, keeps debris out, and adds aesthetic value to your property. However, as time passes, its metal framework and screws may deteriorate.
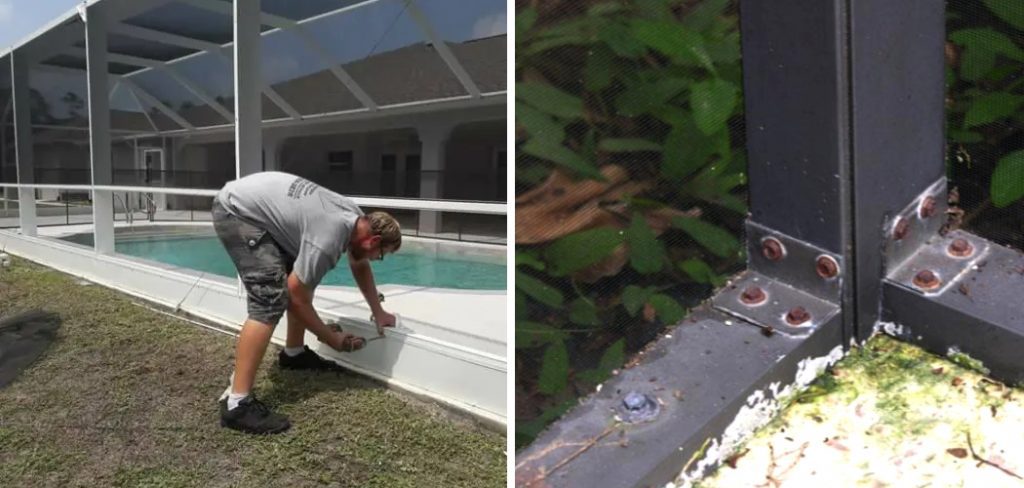
You might see rusted screws, loose panels, or missing ones when that happens. If that’s the case, worry no more. In this blog post, we’ll guide you on how to replace screws in pool enclosure.
Can You Replace the Screws in Pool Enclosure?
Pool enclosures are a fantastic way to enjoy your pool year-round while keeping pesky bugs and debris out. However, the screws that hold your enclosure together over time can become loose or rusted. If this happens, you may be wondering if you can replace them.
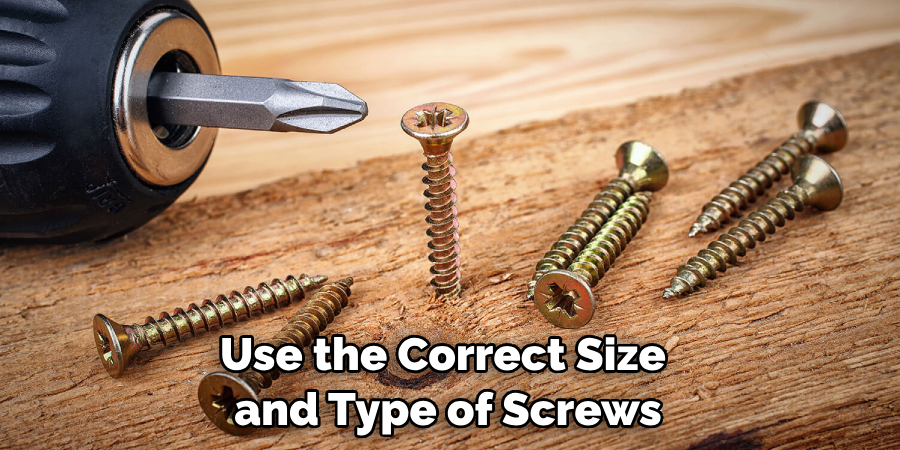
The good news is, yes, you can replace the screws in your pool enclosure! It’s important to use the correct size and type of screws to ensure your enclosure remains secure. If you’re unsure of what type of screws to use, consult a professional or your enclosure manufacturer.
Replacing the screws in your pool enclosure can be a quick and easy DIY project with the proper tools and knowledge about the process.
Why Should You Replace Screws in Pool Enclosure?
Pool enclosures are a great way to create a stylish and functional outdoor space to enjoy swimming and relaxing. However, pool enclosures can wear down over time, like any structure exposed to outdoor elements. One key component that many people overlook is the screws that hold the enclosure together.
These screws can become corroded and weakened over time due to moisture and other environmental factors, which can compromise the safety and stability of the enclosure. It’s important to replace screws in pool enclosures to ensure the structure remains secure and stable for years.
Don’t wait until it’s too late – take the time to inspect and replace any corroded screws in your pool enclosure to keep your family and guests safe and comfortable while enjoying your outdoor space.
7 Tips to Follow on How to Replace Screws in Pool Enclosure
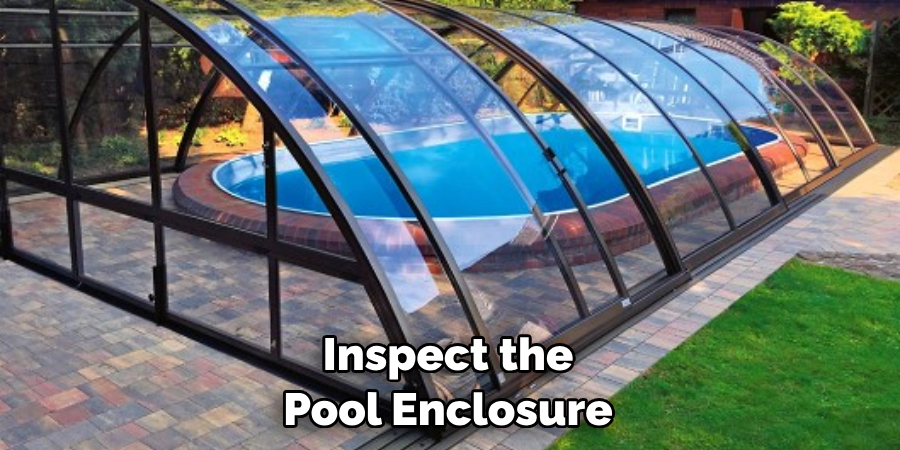
1. Inspect Your Pool Enclosure
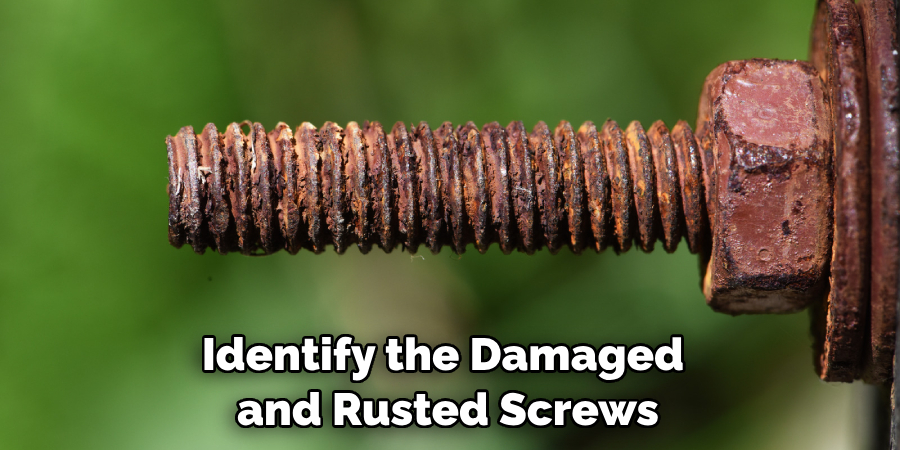
Before you start, make sure to inspect your pool enclosure thoroughly. Identify the damaged and rusted screws and take note of their locations. This will help you determine the number and size of the replacement screws you would need.
Inspect the panels in between and check for wear and tear. You might need to replace some panels as well if they have been damaged over time.
2. Gather Necessary Tools and Supplies
After inspecting, gather the necessary tools and supplies for the job. You may need a drill, a screwdriver, a reciprocating saw, a wire brush, a socket set, and a pair of safety gloves and goggles. Visit your local hardware store and purchase the replacement screws specific to your pool enclosure’s model and brand.
3. Remove Old Screws
Now, you’re ready to start. Using the drill, remove the rusted and damaged screws. Be gentle and make sure not to damage the panels in between. If you find a screw that won’t come out easily, use the reciprocating saw to cut the screw in half, then remove it. Once you’ve removed all the deteriorating screws, clean the area thoroughly with a wire brush to ensure no debris is left behind.
4. Replace Screws
After removing the old screws, it’s time to add the new ones. Using the socket set, insert and tighten new screws in the same location as the old ones. Ensure the screws are tightened enough to hold the panels in place but not too tight to avoid damaging them. Repeat the process until all the screws have been replaced.

5. Check for Loose Panels and Missing Screws
After replacing the screws, check if any panels are loose. If there are any, you may need to adjust the screws by tightening them further or replacing them with new and longer screws. If you notice any missing screws, insert new ones in their place to avoid further damage.
6. Inspect the Pool Enclosure for any Damage
Now that you’ve replaced all the screws inspect the pool enclosure for any damage. If there are cracks or gaps between panels or around the screws, use sealant to patch them up and prevent water from seeping.
7. Clean Up and Maintenance
After inspecting and patching the enclosure, clean up the area and ensure all tools and supplies are properly stored away. Regularly inspect your pool enclosure for any signs of wear and tear to ensure it stays in good condition.
That’s it! You’ve now learned how to replace screws in pool enclosure. With these steps, you can easily and quickly fix your pool enclosure without professional help. Make sure to follow these tips to ensure the safety and longevity of your pool enclosure.
5 Considerations Things When You Need to Replace Screws in Pool Enclosure
1. Type of Screws
When replacing screws in a pool enclosure, it is important to make sure that you select the right type of screws for the job. Several different types of screws are available, including stainless steel, galvanized steel, and aluminum.
Each type of screw has its advantages and disadvantages, so it is important to do your research before making a purchase. Additionally, it is important to check with the manufacturer’s instructions to ensure you use the correct type of screw for your specific pool enclosure.
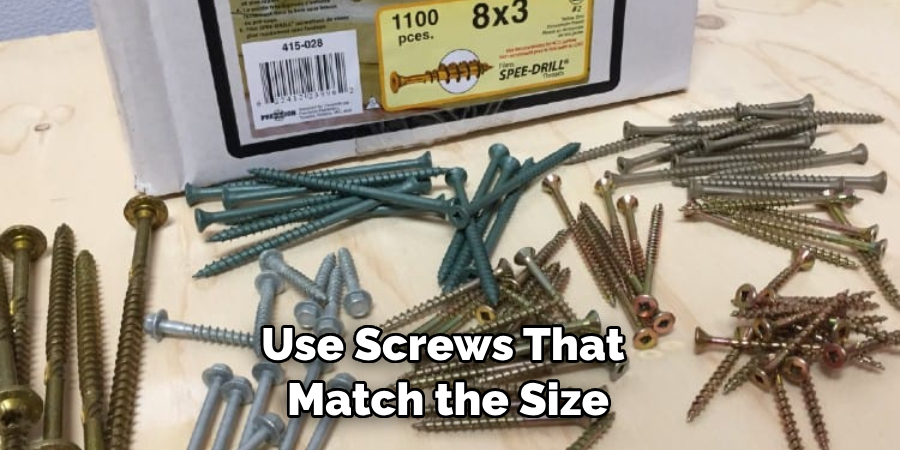
2. Size
The size of the screws is also an important consideration when replacing them in a pool enclosure. It is important to ensure the replacement screws are the same size as those being replaced. If you use screws that are too small or too large, they may not hold properly and could cause damage to the structure of your pool enclosure.
3. Length
In addition to selecting the right type and size of screw for your pool enclosure, it is also important to choose one with an appropriate length. The length should be long enough to penetrate through all layers of material but not so long that it will come into contact with any electrical wiring or other components inside the pool enclosure.
It is best to measure twice before cutting once when determining how long each screw should be.
4. Weather Resistance
The weather resistance of the screws used in a pool enclosure is another factor that should be considered when replacing them. Pool enclosures are exposed to harsh weather conditions throughout their lives, so they must have screws that can withstand these conditions without corroding or rusting over time.
Stainless and galvanized steel are both excellent choices for outdoor applications such as this one, as they offer superior corrosion resistance to other materials like aluminum or brass.
5. Cost
Finally, cost should also be considered when replacing screws in a pool enclosure and when purchasing any other supplies needed for construction or repair projects around your home or business premises.
Many different types and sizes are available on the market today, ranging from inexpensive plastic options to more expensive stainless steel ones, depending on what you need them for and how much money you have budgeted for this project specifically.
It is important to shop around and compare prices before settling on a particular type or size of screw to ensure you get the best value for your money.
By considering all these factors, it will be much easier to select the right screws for replacing those in your pool enclosure. This will help guarantee that they hold securely and last longer, making your pool enclosure safer and more secure overall.
Make sure to take the time to do your research and shop around before settling on a particular option so that you can ensure you are getting the best product for your needs. With careful planning and consideration, replacing screws in a pool enclosure can be done quickly and affordably with minimal fuss or hassle.
Benefits of Replace Screws in Pool Enclosure
As a pool owner, you know how important it is to maintain your pool enclosure. Not only does it protect your pool from the elements, it also keeps unwanted critters out. But have you ever thought about the screws that hold your enclosure together?
Over time, screws can become loose or rusty, compromising the integrity of your pool enclosure and leaving it vulnerable to damage.
By replacing your old screws with new, high-quality ones, you can ensure the long-lasting protection of your pool area. Not only will you have peace of mind knowing your enclosure is secure, you’ll also be adding value to your property.
So why not take a closer look at your pool enclosure screws today? Your pool – and your wallet – will thank you.
Some Common Mistakes People Make When Trying to Replace Screws in Pool Enclosures
Replacing screws in a pool enclosure seems like a straightforward task, but there are common mistakes that people make when attempting it. One of the primary errors is using screws not designed for outdoor use. These screws will easily rust and corrode when exposed to the humidity and moisture in a pool environment.
Another mistake is using screws that are too short or too long for the job. If screws are too short, they won’t properly secure the enclosure; if they are too long, they could damage the structure. It is also essential to use screws that match the size and type of the existing screws.
Taking the time to choose the right screws and ensure they are installed correctly can significantly affect the longevity and appearance of your pool enclosure.
Conclusion
Maintaining your pool enclosure is crucial to ensure the safety and longevity of your pool and property. Replacing screws is a simple yet vital task that should be performed when necessary.
Inspect your pool enclosure periodically for any signs of wear and tear, gather necessary tools and supplies, remove old screws, replace them with new ones, and check for loose panels and missing screws.
Doing so will help you prevent further deterioration and damage to your pool enclosure and keep it looking as good as new. Thanks for reading our post about how to replace screws in pool enclosure.
Occupation: Expert in Hardware Tools
Education: Bachelor’s Degree in Mechanical Engineering
Profile:
Enrique Howard is a seasoned expert in the field of hardware tools, with a robust background in mechanical engineering that underpins his extensive knowledge and skills. Holding a degree in mechanical engineering, Enrique has cultivated a deep understanding of tool design, mechanics, and the intricacies of various hardware applications. His educational foundation empowers him to innovate and refine tools that enhance efficiency and effectiveness in a wide range of industries.
Professional Focus:
Enrique’s professional focus encompasses a diverse array of areas within the hardware tools sector, including:
- Tool Design and Development: Leveraging his engineering expertise, Enrique specializes in designing tools that meet specific user needs, ensuring optimal performance and durability.
- Material Science: Understanding the properties of various materials allows him to recommend the best tools for specific applications, enhancing safety and efficiency.
- Ergonomics: He emphasizes the importance of ergonomic design in tools, striving to create solutions that reduce user fatigue and improve comfort during prolonged use.
- Sustainability: Enrique is committed to promoting environmentally friendly practices in tool manufacturing, advocating for the use of sustainable materials and processes.
- Education and Training: Through workshops, seminars, and written content, he focuses on educating both professionals and DIY enthusiasts about tool selection, maintenance, and safe usage practices.
Throughout his career, Enrique has worked on numerous projects, collaborating with manufacturers and craftsmen to develop cutting-edge hardware solutions. His expertise spans from traditional hand tools to advanced power tools, allowing him to contribute significantly to both professional and DIY communities.
As an author, Enrique shares his insights through articles, guides, and tutorials, aimed at helping enthusiasts and professionals alike navigate the complexities of hardware tools. His passion for education and practical application drives him to continually explore new technologies and methodologies, making him a trusted voice in the hardware industry.
Whether he’s writing about the latest tool advancements or providing practical tips for tool maintenance, Enrique Howard is dedicated to empowering others with the knowledge and skills necessary to excel in their hardware endeavors.