
Are you planning a long trip and need to disconnect your generator from your house? You may want to perform maintenance or repairs on your generator without any risk of electricity flowing back into your home.

How to disconnect generator from house is a crucial step to ensure safety and prevent electrical hazards during power restoration. Whether shifting from a generator back to the grid or ensuring proper maintenance, understanding the disconnection process is essential for novice and experienced users.
This guide will walk you through the necessary steps to safely and effectively disconnect your generator. It highlights essential considerations to keep in mind to protect yourself and your home’s electrical system. With the right approach, you can mitigate risks and ensure your generator is adequately handled.
What Will You Need?
Before you begin, gathering all the necessary tools and materials to disconnect your generator is essential. These may include:
- Rubber gloves
- Safety glasses
- Insulated pliers
- Wire connectors
- Electrical tape
- Non-contact voltage tester
Always use these safety items when working with electricity to prevent any potential accidents or injuries.
10 Easy Steps on How to Disconnect Generator From House
Step 1: Turn Off the Generator
Before attempting any disconnection process, ensure the generator is completely turned off. This is a critical safety measure that prevents any unintended power flow or electrical surges. To do this, locate the generator’s main power switch or control panel and toggle it to the “off” position. It’s advisable to allow the generator to cool down for a few minutes after powering it down, as components may be hot and pose a burn risk.

Unplug any devices or equipment connected to the generator as a further safety precaution. This step protects your appliances from potential damage and reduces the risk of electric shock.
Step 2: Disconnect the Output Cables
You can disconnect the output cables once the generator is off and cooled down. Start by identifying the wires that connect the generator to your home’s electrical system. Using insulated pliers, carefully remove the connectors from the generator’s terminals. Handling the cables with caution is vital, ensuring that you do not touch any exposed wires. Make sure to label the cables if needed, as this will help you when reconnecting them later. After the output cables are disconnected, secure them from live circuits to prevent accidental contact.
Step 3: Shut Off the Main Breaker
After disconnecting the output cables from the generator, the next crucial step is to shut off the main breaker in your home’s electrical system. This action is vital because it prevents any backfeed of electricity into the generator during the disconnection process. To locate the main breaker, approach your home’s electrical panel, which is typically situated in a basement, garage, or utility room.
Once you’ve located the panel, identify the main breaker—a large switch usually positioned at the top or bottom of the panel. Firmly toggle the switch to the “off” position. This will disconnect power from all circuits in your home, ensuring no electricity flow while you work on the generator.
It’s recommended to double-check the status of your home’s power by using a non-contact voltage tester near outlets to confirm that the electricity is indeed off. Remember, this step is essential for your safety and the protection of your electrical system and appliances.
Step 4: Inspect Electrical Connections
Before proceeding with the disconnection, inspect all electrical connections and components. Look for any signs of wear, damage, or corrosion that could affect performance or safety. Ensure that terminals are tight and secure since loose connections can lead to electrical hazards later. If you spot any issues, it’s wise to address them before proceeding with the disconnection process.
Step 5: Disconnect the Fuel Supply

Before fully disconnecting the generator, it is crucial to address the fuel supply to ensure safety and prevent any potential leaks or hazards. Start by locating the fuel valve on your generator. This is typically found near the fuel tank and is often marked with “On” and “Off” indicators. Turn the fuel valve to the “Off” position to stop the flow of fuel to the generator.
Next, if your generator has a fuel line that connects to an external tank, carefully disconnect the fuel line using an appropriate wrench. Do this slowly to avoid spilling fuel, which can pose a fire hazard. Have a container ready to catch any residual fuel that may leak out during the disconnection process.
Once the fuel line is detached, inspect it for any signs of wear, cracks, or leaks. If there are any defects, it’s advisable to replace the line before reusing the generator to ensure safe operation in the future. After everything is securely turned off and disconnected, give the area a thorough check for any spills or residues before proceeding.
Step 6: Remove the Generator from the Transfer Switch
Once you have safely disconnected the fuel supply, the next step involves removing the generator from the transfer switch. Begin by locating your transfer switch, which is the device that connects your generator to your home’s electrical system.
Open the cover of the transfer switch and locate the generator input. Using insulated pliers, carefully loosen and remove the screws or clamps holding the generator’s input wires in place. Take your time during this step to avoid any accidental touches to live wires—a crucial point for ensuring your safety.
Step 7: Secure and Store the Generator
With the generator disconnected from the transfer switch, it is important to secure and properly store the unit to protect it from environmental factors. Begin by cleaning the exterior of the generator using a damp cloth to remove dust, dirt, or debris. This can help prolong the life of the unit.
Next, if your generator is portable, consider placing it in a designated storage area, such as a garage or shed, where it won’t be exposed to extreme weather conditions. Ensure the area is well-ventilated, dry, and away from flammable materials. If your generator is fixed and mounted, make sure it is securely stored or covered, using a protective cover designed for your specific model.
Step 8: Restore Power to Your Home

After you have successfully disconnected and stored your generator, it’s time to restore power to your home. Return to the main electrical panel and toggle the main breaker back to the “on” position. This action should allow electricity to flow back into the home circuits.
To confirm that power is restored, check various outlets around the house using a non-contact voltage tester. It’s wise to make sure that everything is operating normally, including appliances and lighting, before using any devices that require a stable electrical supply.
Step 9: Perform Final Maintenance on Your Generator
After restoring power to your home, it’s essential to conduct a final maintenance check on your generator to ensure it’s ready for future use. Start by inspecting all components, including the oil, air filters, and spark plugs. Change the oil if it hasn’t been done recently, as clean oil contributes to better engine performance and longevity. Additionally, if the air filter appears dirty or clogged, replace it to ensure optimal airflow during operation.
Next, check the spark plugs for any signs of wear or damage; if necessary, clean or replace them to enhance ignition efficiency. It’s also an excellent time to run the generator for a short period to ensure it operates smoothly and to keep the engine lubricated. Lastly, refer to the manufacturer’s manual for any specific maintenance recommendations and schedule regular checks based on usage guidelines to prolong the life of your generator.
Step 10: Document Your Work
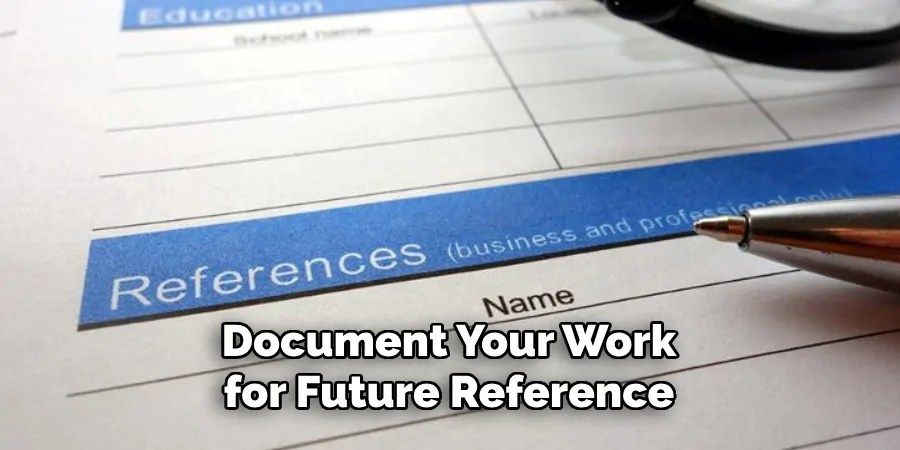
After completing the maintenance and disconnection of your generator, it’s essential to document your work for future reference. Create a record of the maintenance activities performed, including dates and details of any parts that were replaced or repaired. Additionally, note any observations regarding the generator’s performance during your inspection. This documentation can assist you in tracking the operational history of your generator and is invaluable if any issues arise or if you need to report problems to a technician. Keeping this record up to date ensures that you will have comprehensive details available for future maintenance checks or when planning further service.
By following these steps, you can safely and effectively disconnect your generator from your home’s electrical system.
Conclusion
Disconnecting a generator from your home’s electrical system is a straightforward process that, when executed correctly, prioritizes safety and efficiency.
By following the outlined steps on how to disconnect generator from house—addressing any potential issues, disconnecting the fuel supply, removing the generator from the transfer switch, securing and storing the unit, restoring power, performing final maintenance, and documenting your work—you ensure the longevity of both the generator and your home’s electrical system. Regular maintenance and proper handling are crucial not only for operational longevity but also for your safety.
By adhering to these procedures, you can confidently manage your generator, preparing it for reliable use in the future.
Occupation: Expert in Hardware Tools
Education: Bachelor’s Degree in Mechanical Engineering
Profile:
Enrique Howard is a seasoned expert in the field of hardware tools, with a robust background in mechanical engineering that underpins his extensive knowledge and skills. Holding a degree in mechanical engineering, Enrique has cultivated a deep understanding of tool design, mechanics, and the intricacies of various hardware applications. His educational foundation empowers him to innovate and refine tools that enhance efficiency and effectiveness in a wide range of industries.
Professional Focus:
Enrique’s professional focus encompasses a diverse array of areas within the hardware tools sector, including:
- Tool Design and Development: Leveraging his engineering expertise, Enrique specializes in designing tools that meet specific user needs, ensuring optimal performance and durability.
- Material Science: Understanding the properties of various materials allows him to recommend the best tools for specific applications, enhancing safety and efficiency.
- Ergonomics: He emphasizes the importance of ergonomic design in tools, striving to create solutions that reduce user fatigue and improve comfort during prolonged use.
- Sustainability: Enrique is committed to promoting environmentally friendly practices in tool manufacturing, advocating for the use of sustainable materials and processes.
- Education and Training: Through workshops, seminars, and written content, he focuses on educating both professionals and DIY enthusiasts about tool selection, maintenance, and safe usage practices.
Throughout his career, Enrique has worked on numerous projects, collaborating with manufacturers and craftsmen to develop cutting-edge hardware solutions. His expertise spans from traditional hand tools to advanced power tools, allowing him to contribute significantly to both professional and DIY communities.
As an author, Enrique shares his insights through articles, guides, and tutorials, aimed at helping enthusiasts and professionals alike navigate the complexities of hardware tools. His passion for education and practical application drives him to continually explore new technologies and methodologies, making him a trusted voice in the hardware industry.
Whether he’s writing about the latest tool advancements or providing practical tips for tool maintenance, Enrique Howard is dedicated to empowering others with the knowledge and skills necessary to excel in their hardware endeavors.